


A practical guide on how to take good photos with your iPhone

14/02/2026

13 Mins
This guide will show you how to get the most out of your iPhone’s camera. We’ll walk through the essential settings, simple composition rules, and lighting tips that make a real difference, whether your mobile is brand new or a trusted refurbished model.
Why master your iPhone's camera?
With mobiles now capturing the vast majority of all pictures taken globally, your iPhone is an incredibly powerful creative tool. While many people download extra editing apps, mastering the built-in camera and Photos app is often all you need for great results.
This is especially true for refurbished models from the iPhone 12 onwards, which include powerful software features like Deep Fusion and Smart HDR. You don't need to be a professional photographer to see a huge improvement in your pictures. The goal is to help you take photos you're proud to share. If you’re still deciding which device is right for you, check out our guide on how to choose a good camera phone.
Key iPhone Camera Features and When to Use Them
Getting familiar with these core features is the first step towards taking control of your iPhone camera and moving beyond simple point-and-shoot pictures.
| Feature | Best For | Quick Tip |
|---|---|---|
| Grid Lines | Improving composition and following the rule of thirds. | Turn this on in Settings > Camera. It’s a great aid for framing shots. |
| Tap to Focus | Selecting a specific subject to keep it sharp and clear. | After tapping, slide your finger up or down to adjust the exposure. |
| Portrait Mode | Creating professional-looking photos with a blurred background (bokeh). | Works best on people, pets, and objects. You can even adjust the blur after taking the photo. |
| Night Mode | Taking bright, clear photos in low-light conditions without flash. | Hold your iPhone steady for the duration of the shot; the camera does the rest. |
| Burst Mode | Capturing fast-moving action, like sports or kids playing. | Just press and hold the shutter button to take a rapid series of shots. |
Getting your iPhone camera settings right
Before you frame your shot, spending a few minutes in your iPhone’s settings can make a big difference. Getting these basics sorted is the first step in learning how to take good photos with your iPhone, and it ensures your camera is always ready.
The biggest and most immediate improvement you can make is turning on the camera grid. This simple overlay helps you compose shots more thoughtfully, applying principles like the 'rule of thirds' to create more balanced and visually interesting images.
To turn it on, follow this path:
- Open the Settings app on your iPhone.
- Scroll down and tap on Camera.
- Under the 'Composition' section, tap the toggle for Grid so it turns green.
Now, when you open your camera, you’ll see faint lines dividing the screen into nine squares. Try placing your subject where those lines intersect instead of right in the middle—it can make a surprising difference.
Choosing the right format for photos
Next, let's look at the format your iPhone uses to save photos. This setting is a trade-off between file size and compatibility with other devices. You'll find these options by going to Settings > Camera > Formats.
You have two choices:
- High Efficiency: This format (HEIC) saves your photos in a smaller file without losing quality, which is brilliant for saving space on your phone. For most people, this is the best option.
- Most Compatible: This saves photos as a standard JPEG. You should choose this if you often move photos to older computers or devices that might not recognise the newer HEIC format.
For most of us, especially if you're working with the storage on a refurbished model, 'High Efficiency' is the way to go.
Preserving your camera settings
It can be frustrating to open your camera for a portrait shot, only to find it has reset to the default photo mode. Your iPhone can remember your last-used settings, saving you precious seconds.
Go to Settings > Camera > Preserve Settings. Here, you can tell your iPhone to remember a few key things:
- Camera Mode: Keeps the last mode you used (like Video or Portrait) active the next time you open the app.
- Creative Controls: Remembers the last filter, aspect ratio, or light setting you used.
- Live Photo: Keeps Live Photo turned on or off, depending on how you last left it.
Toggling these on makes your camera feel more personal and ready for your specific shooting style. For a closer look at specific features, our article on the iPhone 12's camera system has some useful insights.
Working with light and composition
Once you’ve got your settings sorted, the next step is to understand light and composition. These two elements will have a bigger impact on your pictures than any new gadget or app. Good light can turn a flat, dull image into something dynamic, while strong composition tells the viewer’s eye where to look.
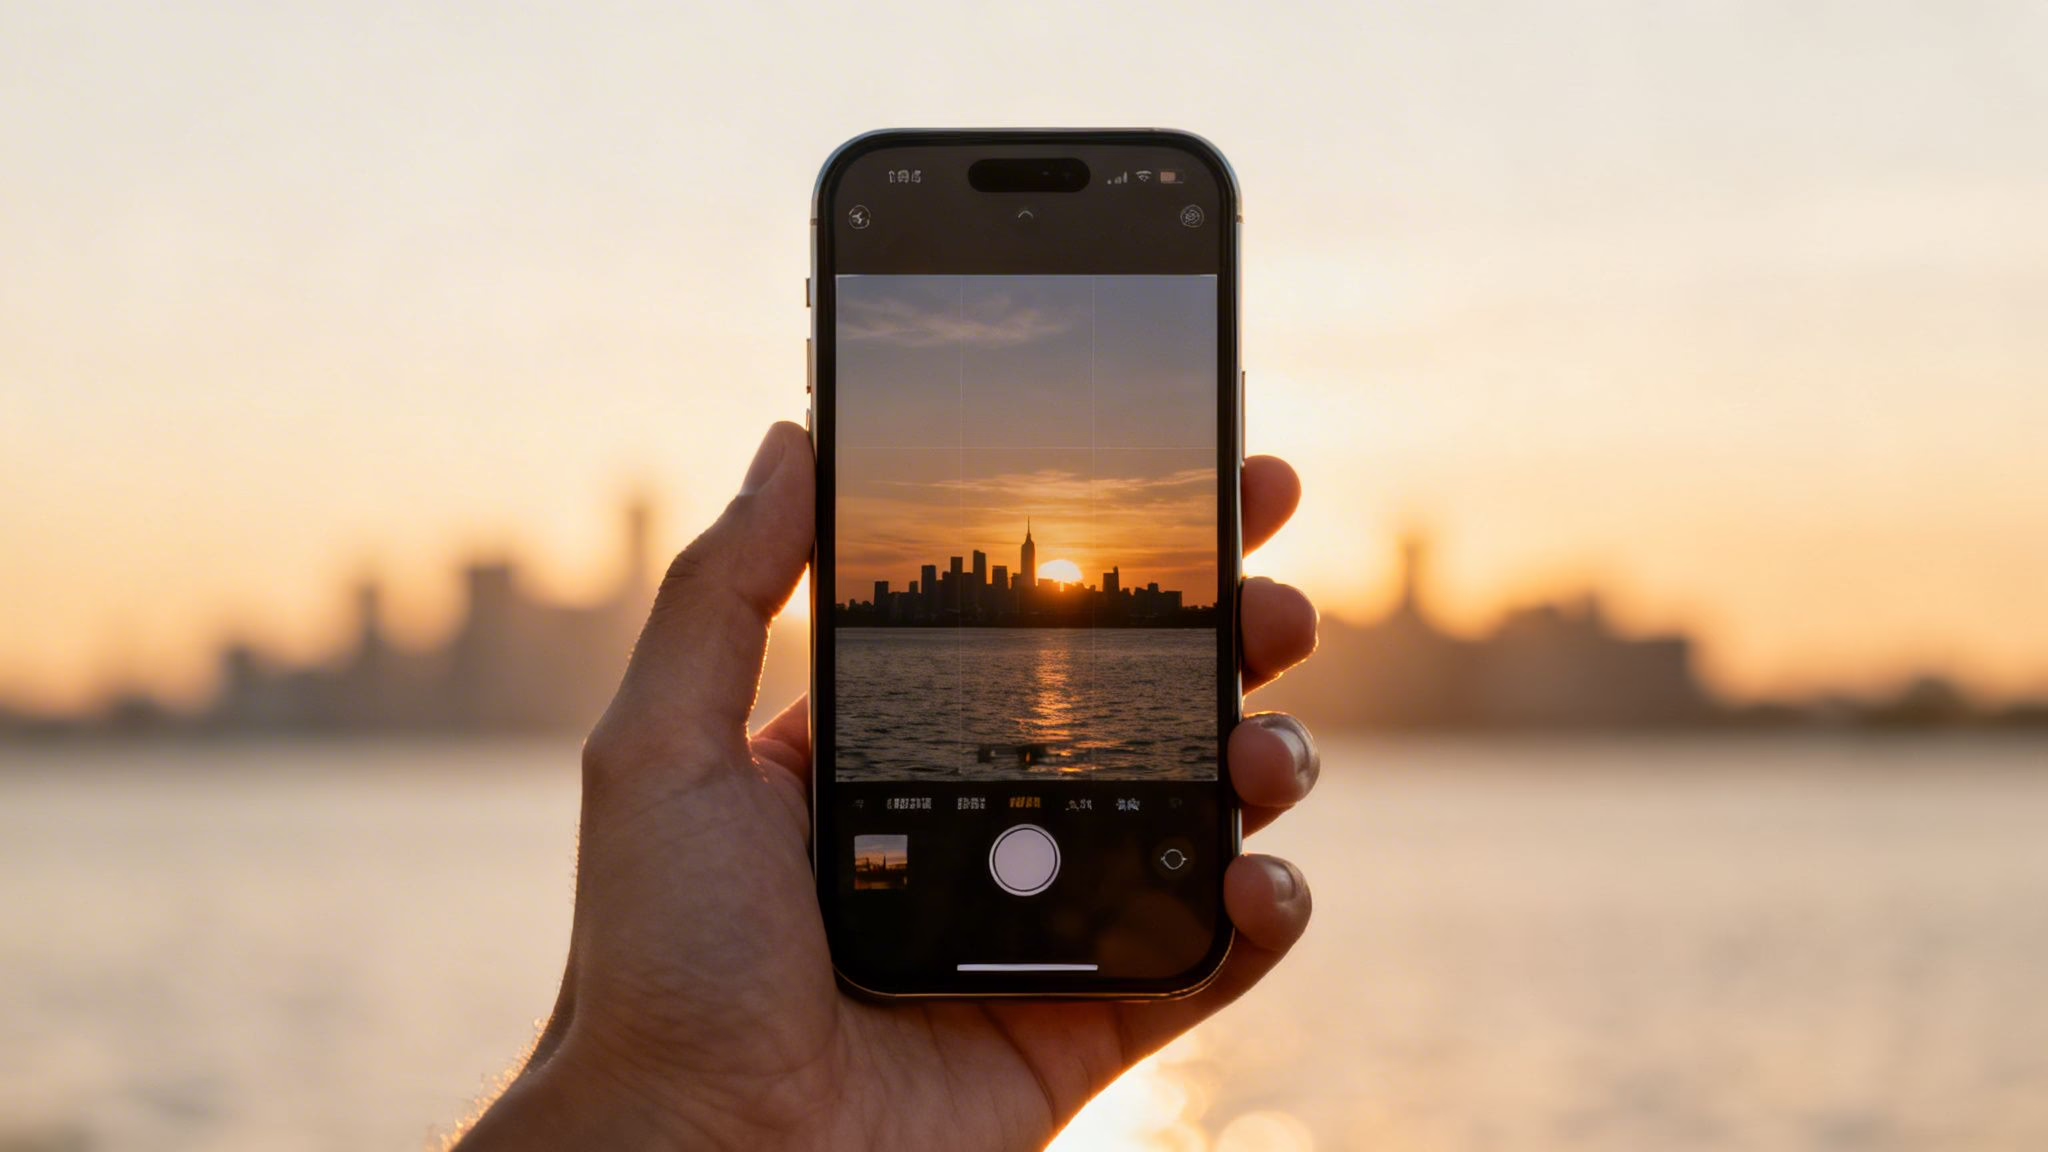
The best light is rarely the brightest. Harsh, direct sun from overhead (think midday) often creates deep, unflattering shadows and makes people squint. Instead, try to shoot during the "golden hour"—the window of time just after sunrise and before sunset when the light is softer and warmer.
Finding the best light
A classic cloudy British day can be ideal for photography. Overcast skies act like a giant, natural softbox, scattering sunlight evenly. This creates soft, flattering light that’s perfect for portraits because it reduces harsh shadows.
Here are a few simple lighting rules:
- Avoid shooting into the sun. Unless you’re going for a silhouette, having the sun behind your subject will usually leave them in shadow. Try to keep the sun behind you so it lights up what you’re photographing.
- Use shadows to your advantage. Shadows can create mood, add contrast, and draw the viewer's eye. Look for interesting patterns of light and shadow on walls or the ground.
- Avoid the flash. The built-in flash on your iPhone is often harsh. In most low-light situations, modern iPhones have Night mode capabilities that produce far better results.
Improving your composition
Composition is simply how you arrange everything in your photo. We’ve already mentioned turning on the grid to help with the rule of thirds, but here are a few other techniques.
Leading Lines
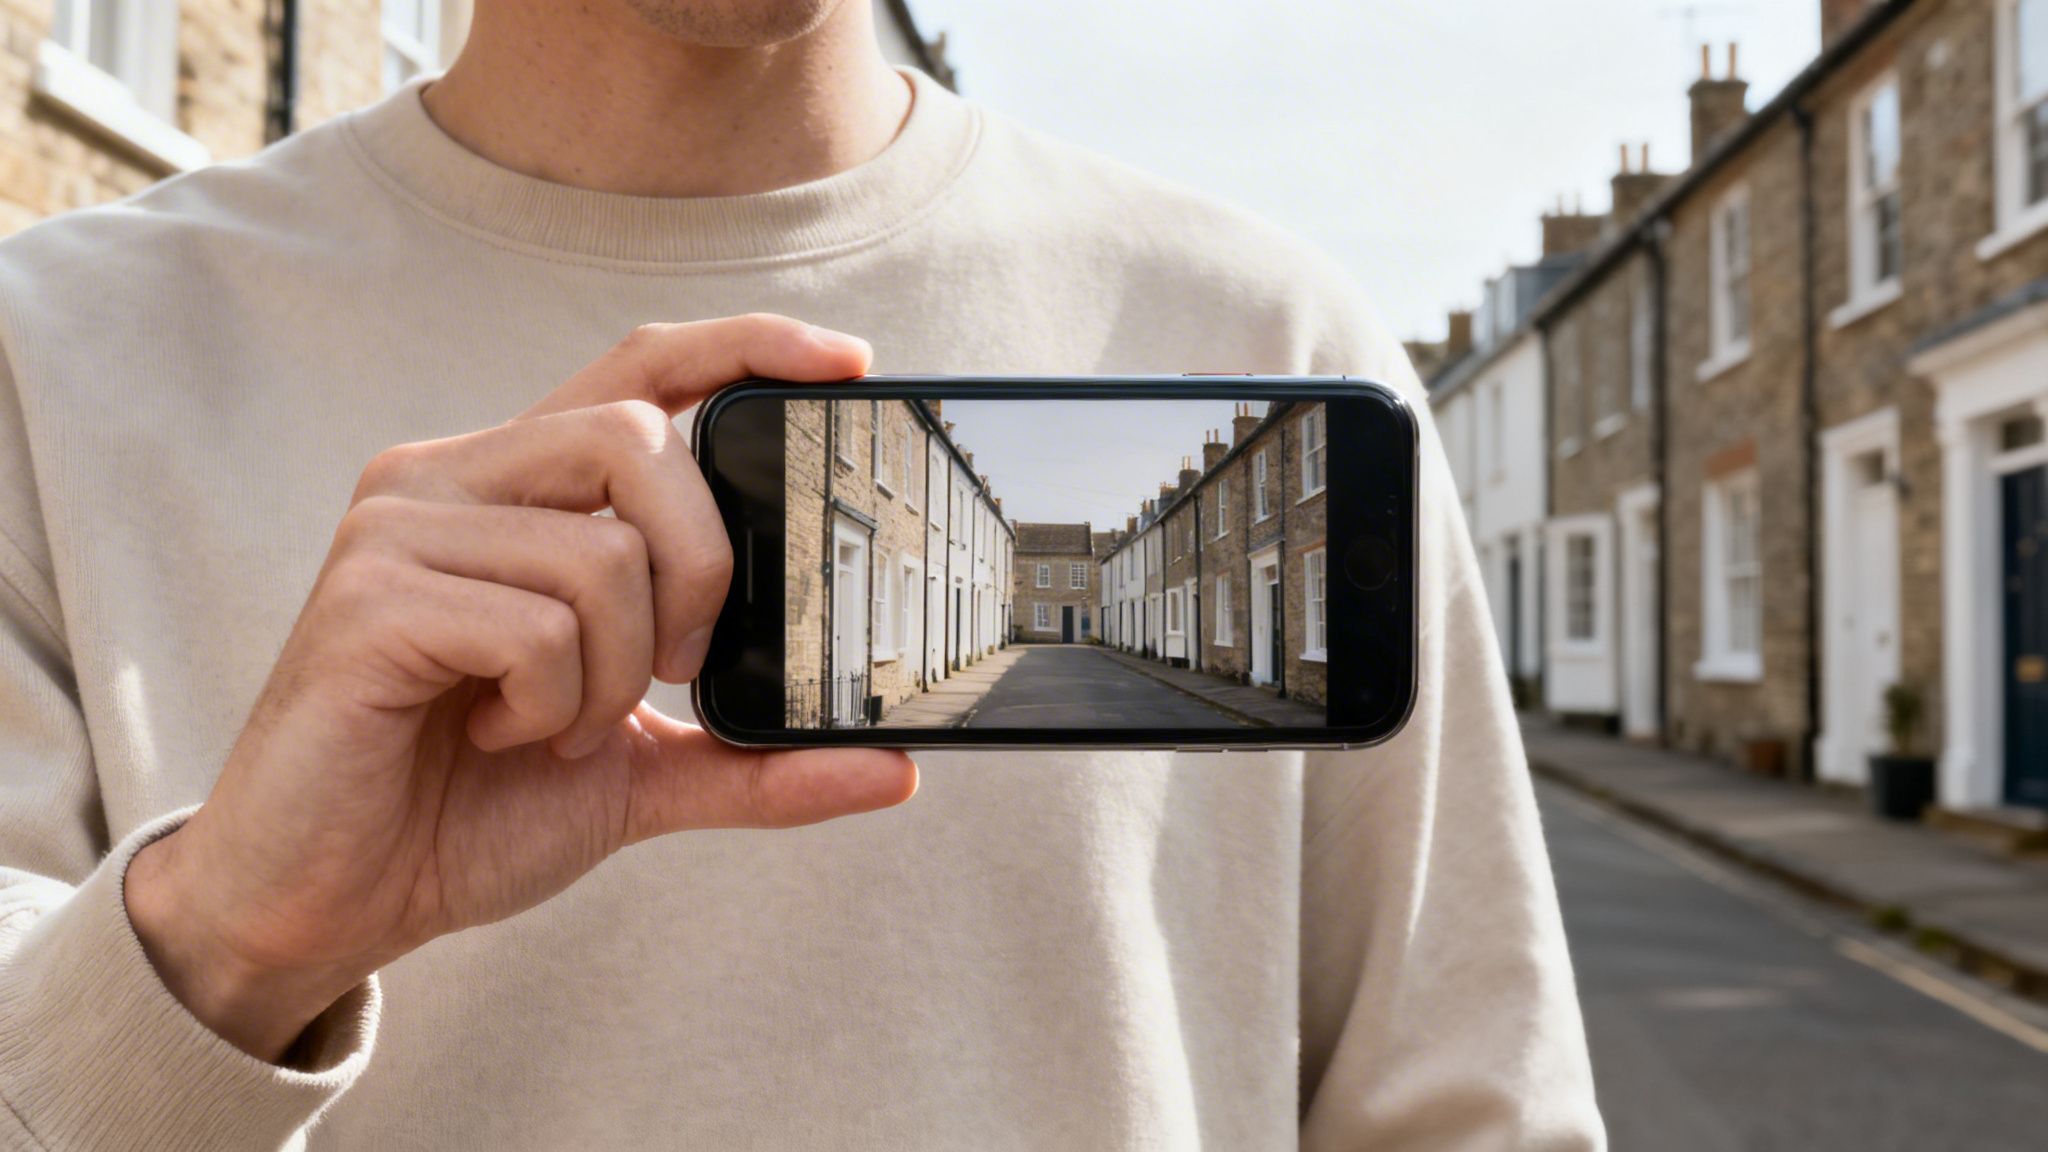
Look for natural lines in your surroundings—a path, a fence, or a road. Frame your shot so these lines guide the viewer’s eye towards your main subject. It’s a great way to create a sense of depth.
Framing
Use elements in the foreground to create a natural frame around your subject. This could be a doorway, a window, or overhanging tree branches. Framing adds context and makes the final image feel more complete.
Change Your Perspective
Don't just take every photo from eye level.
- Get Low: Crouch down when taking photos of children or pets to see the world from their perspective. It creates a more intimate and engaging portrait.
- Shoot from Above: Look for chances to shoot from a higher vantage point. This can reveal interesting patterns and offer a unique view of a scene.
Learning how to take good photos with your iPhone is about seeing the world around you a bit differently. These simple composition and lighting tips are easy to practise and will quickly improve your photography. For more detail, you can find helpful lighting techniques for portrait photography.
Using iPhone camera modes effectively
Your iPhone camera is more than a simple point-and-shoot. It has several powerful modes designed for specific situations. Getting to grips with them is key to moving beyond basic snaps.
Think of these modes as your creative toolkit. We'll demystify the most useful ones, showing you how and when to use them to get the best results.
Mastering Portrait Mode
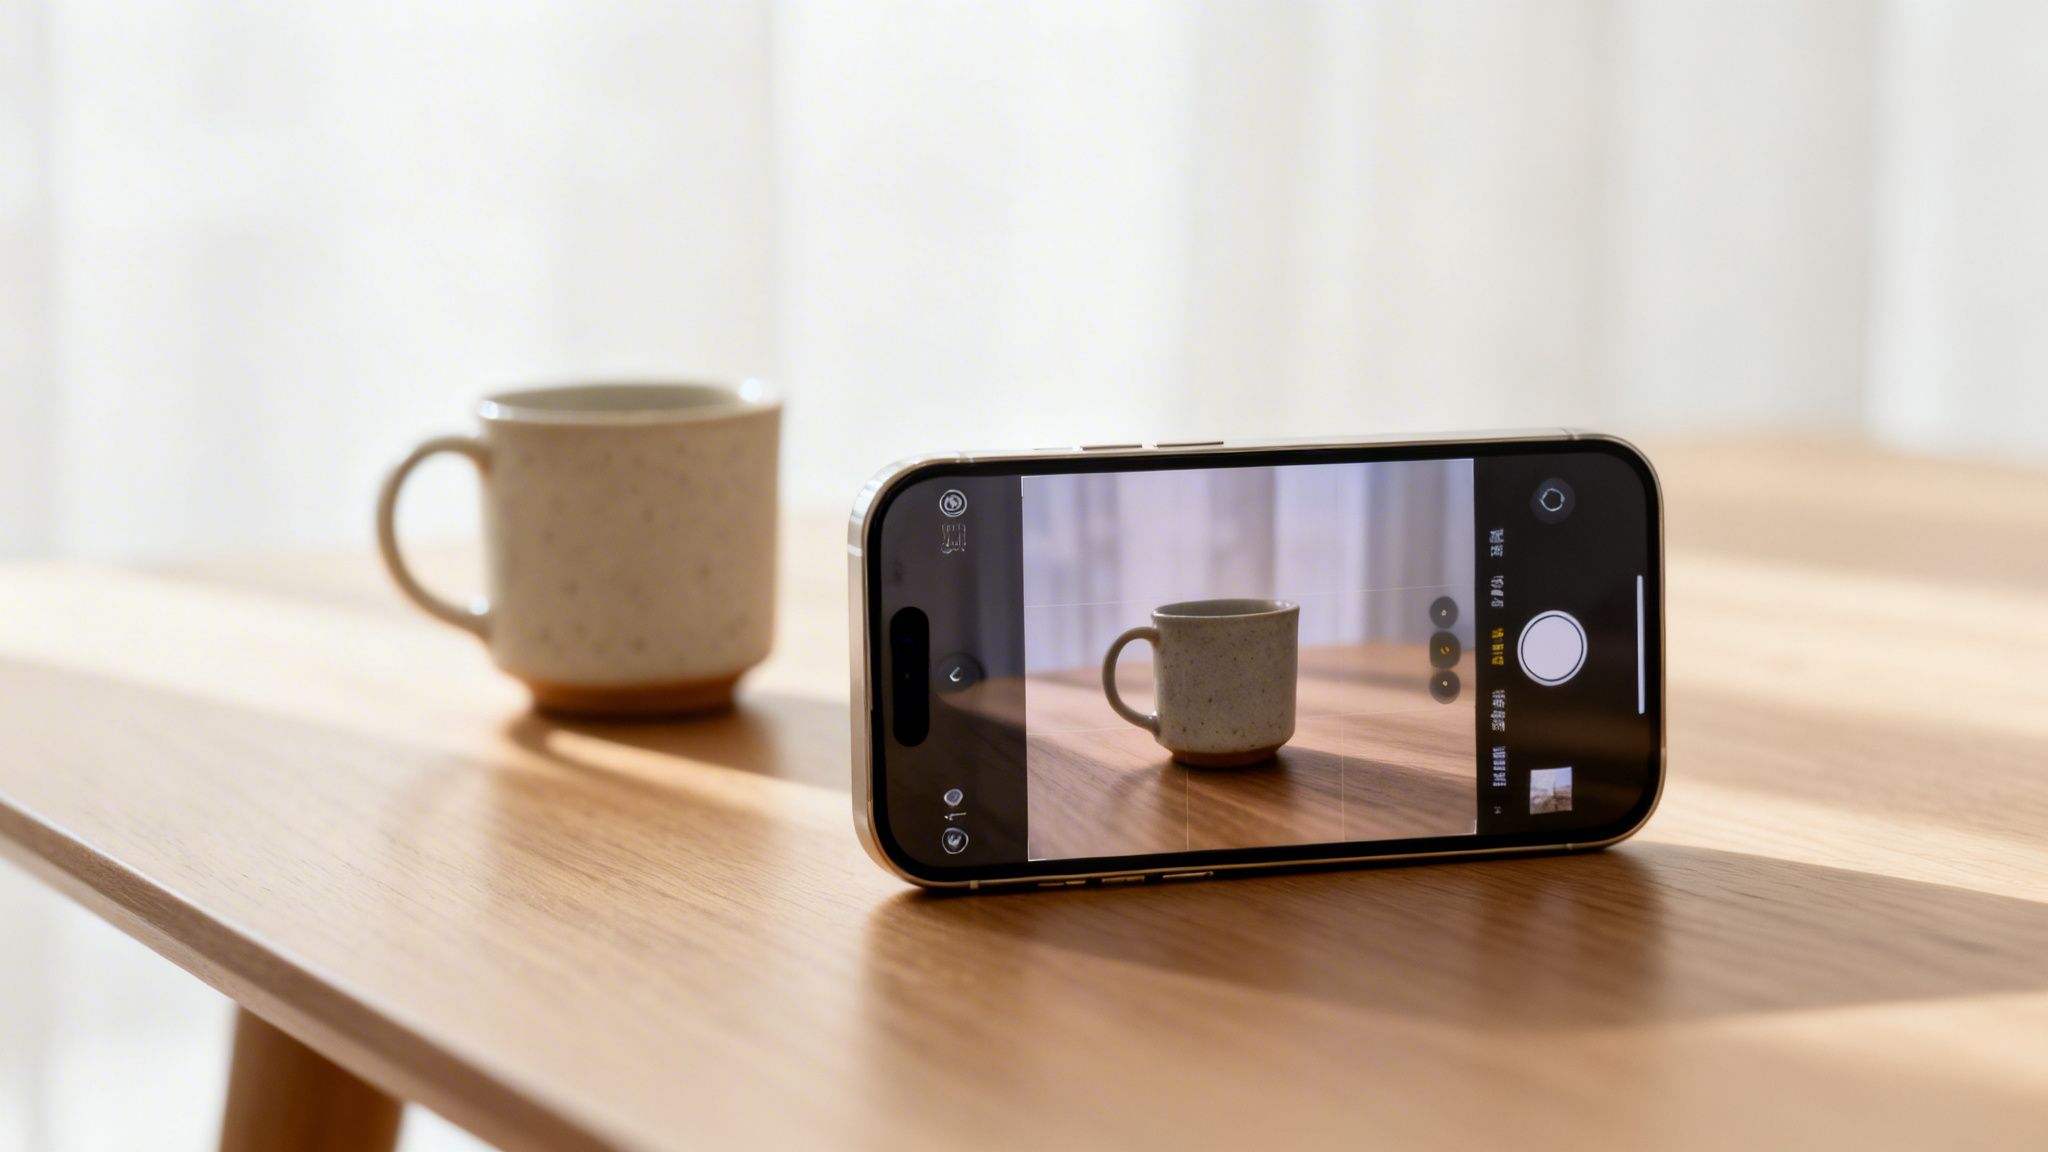
Portrait mode creates a soft blur in the background (an effect photographers call 'bokeh') that you see in professional shots. It's brilliant for pictures of people, pets, or objects you want to highlight.
To get started, open your Camera app and swipe over to PORTRAIT. The app will give you prompts, telling you if you need to move closer or further away. You can also fine-tune the blur after you’ve taken the photo.
- Open the image in your Photos app.
- Tap Edit in the top-right corner.
- Look for the ‘f’ icon at the top-left and tap it to reveal the Depth Control slider.
- Slide it left or right to adjust the background blur.
Capturing action with Burst Mode
Ever tried to photograph a fast-moving subject, like a running pet or a child's sports day? That's where Burst mode is useful. It captures a rapid sequence of photos, increasing your chances of catching that one perfect, sharp moment.
On most recent iPhones, press the shutter button and immediately slide it to the left. You’ll see a counter racking up the shots. When the action is over, lift your finger. Later, you can go into your Photos app, tap 'Select…' on the burst, and swipe through to pick the best image.
Taking photos in low light with Night Mode
Night mode is one of the most useful features on modern iPhones. It activates automatically when the camera detects a low-light environment, letting you take bright, clear photos without the harsh glare of the flash.
You'll know it's active when a yellow icon appears with a number beside it (like 1s or 3s). This is the suggested exposure time. The trick to a great Night mode shot is to hold your iPhone as steady as possible while it's capturing the image.
Exploring Live Photos and Long Exposure
Live Photos capture a few seconds of video and sound before and after you hit the shutter. They also hide a creative tool: Long Exposure. This is what you need to create silky, smooth water effects on a waterfall or capture light trails from passing cars at night.
Here’s how to do it:
- First, make sure Live Photo is on (the circular icon at the top-right of the camera screen should be yellow, not crossed out).
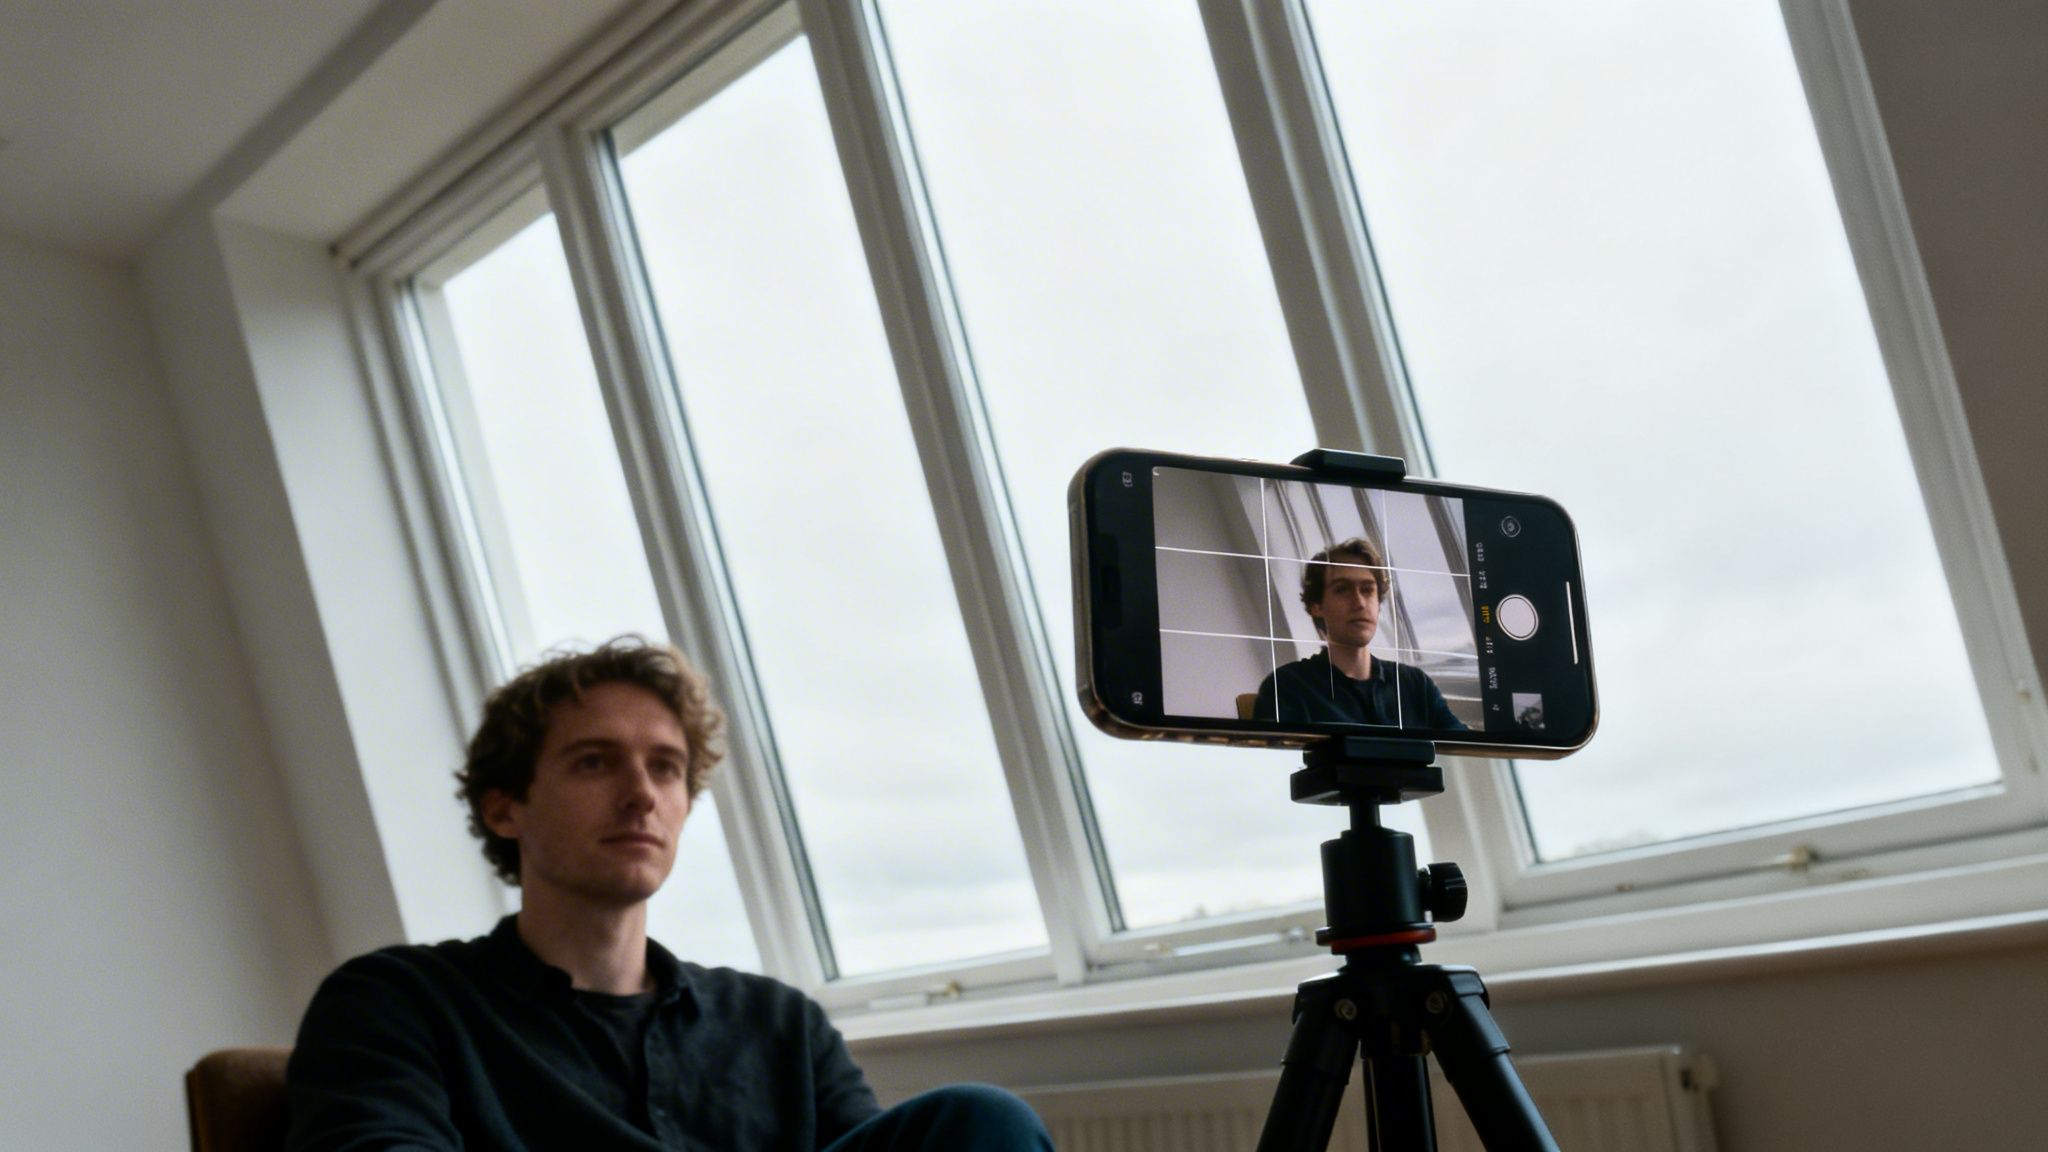
- Take your photo, keeping the mobile as still as possible. A tripod helps, but resting it on a wall works too.
- Open the photo in the Photos app.
- Tap the LIVE button at the top-left and choose Long Exposure from the menu that appears.
Learning to use these built-in modes is a huge part of figuring out how to take good photos with your iPhone. For even more practical advice, take a look at our guide filled with essential tips and tricks for your refurbished iPhone.
Simple edits to make your photos pop
Taking the photo is only half the story. A few small tweaks afterwards can turn a decent picture into a brilliant one, and you don’t need to buy any extra apps to do it. The editing tools built into your iPhone’s Photos app are surprisingly powerful.
Warning: Editing a photo overwrites the original file. While you can usually revert changes, it’s good practice to have a recent backup. Always ensure your mobile is backed up before making significant changes to your photo library to avoid any risk of data loss. If you need help with this, our guide on how to transfer data to a new iPhone covers backing up.
A simple workflow can make editing quick and easy. It’s often best to start with cropping and straightening, as this changes the overall feel of the photo before you adjust colours or light.
Your basic editing workflow
To start editing, open a picture in your Photos app and tap Edit in the top-right corner. You’ll see a row of icons at the bottom.
- Crop & Straighten: Tap the crop icon (the square with arrows). Use the corners to trim away distracting elements. You can also use the dial below the photo to straighten a wonky horizon—a tiny adjustment that makes a huge difference.
- Auto Enhance: The magic wand icon at the top is the 'Auto' button. Tapping this gives you a good starting point, as your iPhone intelligently analyses the photo and applies adjustments. Sometimes, this is all a photo needs.
- Manual Adjustments: Tap the dial icon at the bottom to access the individual sliders. The key is to make small, subtle changes.
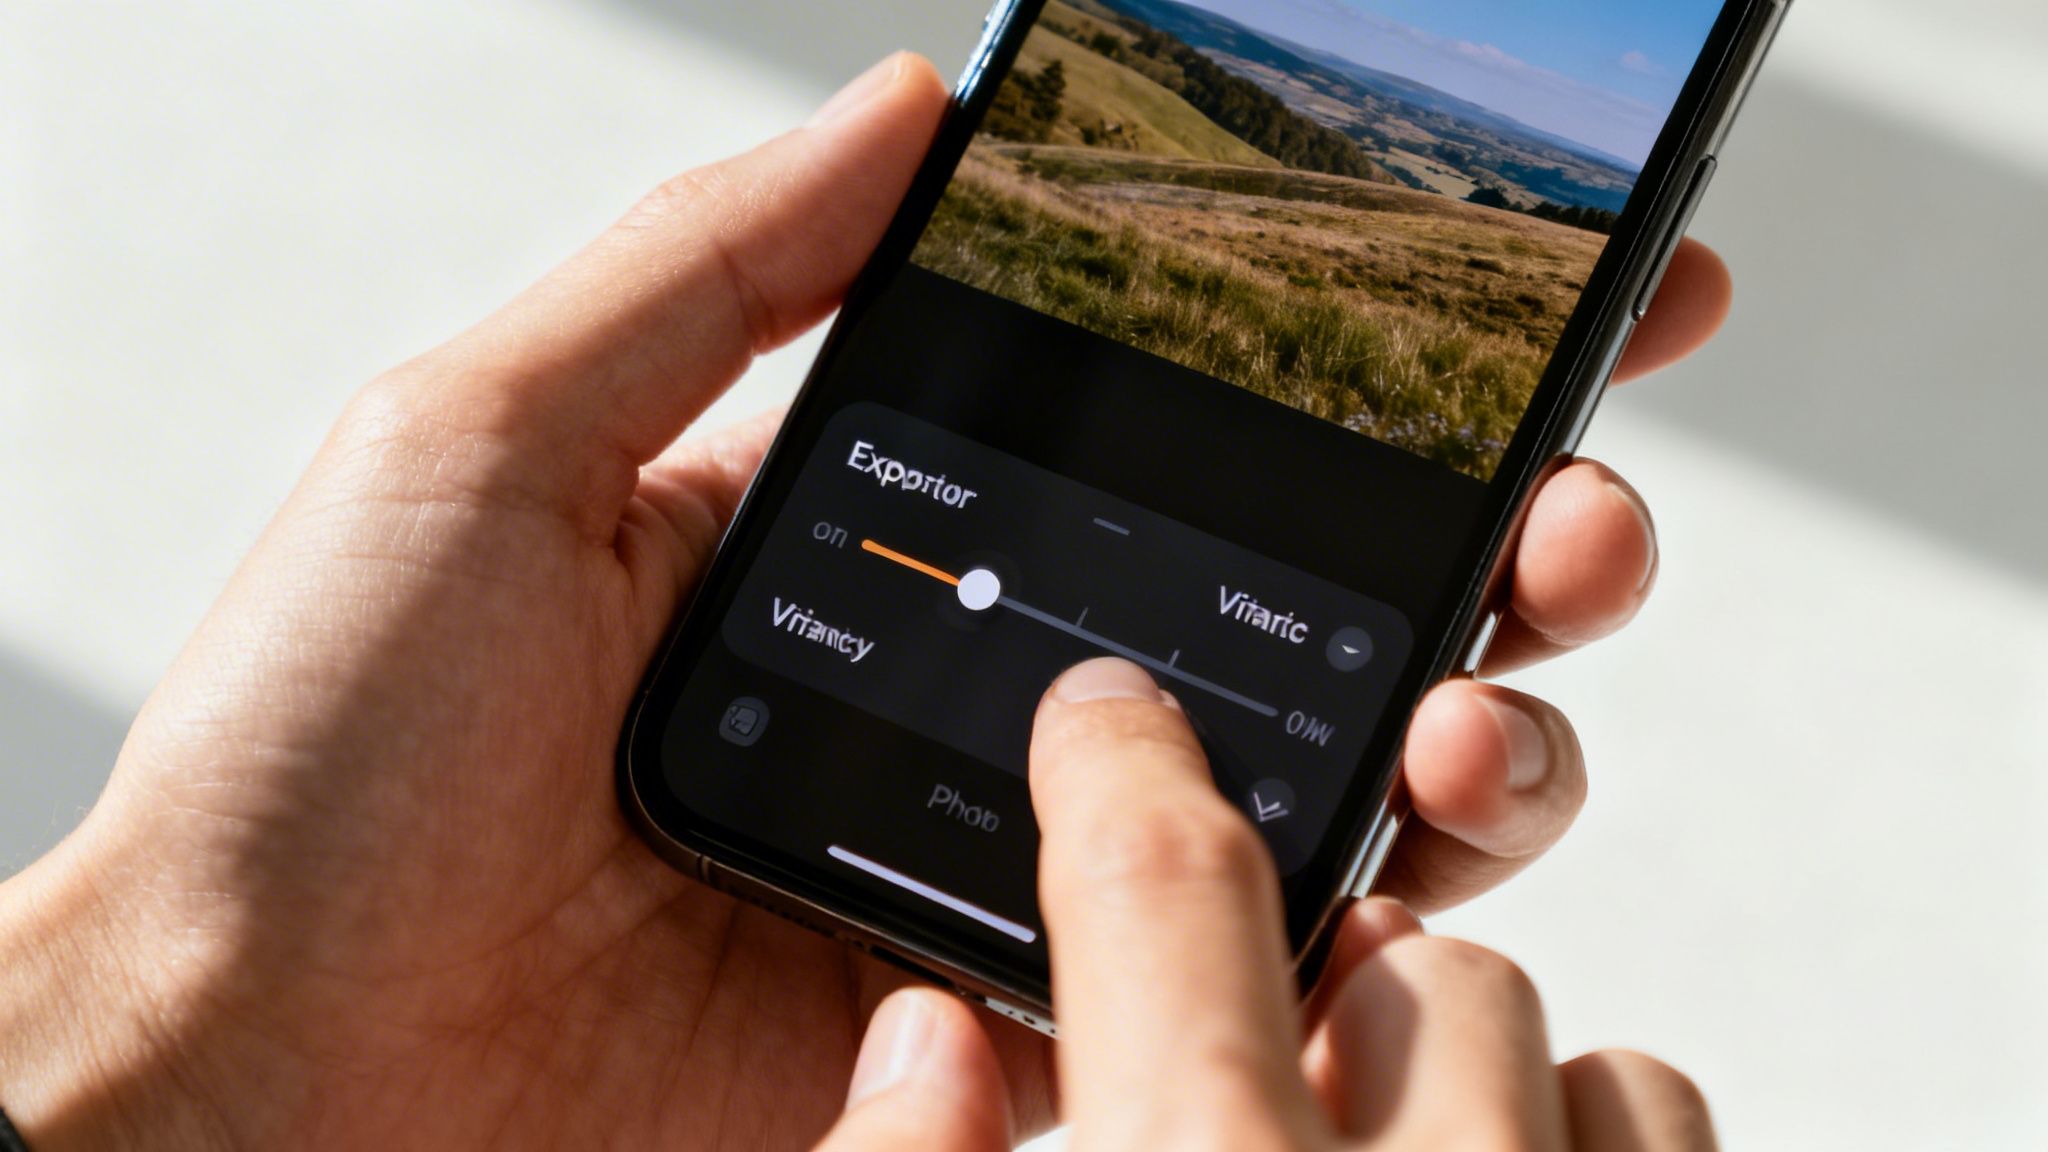
Understanding the key adjustment sliders
When you tap the dial icon, you'll see a series of sliders. You only need to focus on a few key ones to see a big impact.
- Exposure: This controls the overall brightness of the photo. If your picture is a bit too dark, slide this slightly to the right.
- Brilliance: This brightens shadows and tones down highlights, bringing out detail without making the whole image look washed out.
- Contrast: This adjusts the difference between the light and dark parts of your photo. A little extra contrast can make an image feel more punchy.
- Vibrancy: This boosts the less-saturated colours in your photo without making skin tones look unnatural. It's often a better choice than the 'Saturation' slider.
- Warmth: This slider changes the colour temperature. Move it to the right for a warmer, golden look (great for sunsets) or to the left for a cooler, bluer tone.
Remember, the goal of editing is to enhance what’s already there. Small, careful adjustments are what separate a well-edited photo from one that looks artificial. While the built-in app is excellent, you might also be interested in exploring other creative tools; our guide to the top apps for your refurbished phone has some great suggestions.
Common photography mistakes to avoid
Even experienced photographers make mistakes. The good news is that the most common errors are usually the easiest to correct. Getting a handle on these is a massive part of learning how to take good photos with your iPhone.
A blurry or hazy photo is a common complaint. Before you assume your refurbished mobile has a faulty camera, check for the simplest cause: a dirty lens. Your iPhone picks up fingerprints and dust in your pocket or bag. A quick wipe with a soft, clean cloth can make a huge difference to your photo's sharpness.
Getting exposure and focus right
Another common issue is a photo that’s too dark or too bright. This usually happens when the camera focuses on the wrong part of the scene. You can take control in seconds.
Just tap on your main subject on the screen before you shoot. A yellow box will pop up to show what you've focused on. Next to it, you'll see a small sun icon on a vertical line – that’s your exposure slider.
- Slide your finger up the screen to make the image brighter.
- Slide your finger down to make it darker.
This small adjustment gives you control and ensures your subject is properly lit.
Why you should avoid digital zoom
It's tempting to pinch the screen to get a closer look at something, but this is one of the biggest mistakes you can make. This is called digital zoom, and all it does is crop the photo and enlarge the pixels. This reduces the image quality, leaving you with a grainy, blurry result.
If your iPhone has more than one lens (like many refurbished Pro models), you'll see buttons like '1x', '2x', or '3x' on the screen. Tapping these uses optical zoom, which switches to a real lens to get you closer without losing quality. If you don't have optical zoom, you're always better off taking the photo at 1x and cropping it yourself later.
Got questions? We've got answers
Here are a few common questions that pop up when people are learning about iPhone photography.
Can older or refurbished iPhones still take good photos?
Absolutely. The heart of a great photo is good light, thoughtful composition, and a steady hand. An iPhone 11 or 12, for example, has a fantastic camera system with Portrait and Night modes, more than capable of producing excellent images.
The single most important tip is to keep the lens clean. You'd be amazed what a quick wipe with a soft cloth can do for photo sharpness. If you run into any issues, our guide on how to troubleshoot a used iPhone might help.
Do I need to shoot in RAW format?
For most people, the simple answer is no. The standard HEIC or JPEG format your iPhone uses is more than enough for everyday shooting and sharing. Apple ProRAW (available on newer Pro models) captures a huge amount of image data, giving you more flexibility when editing.
The trade-off is that RAW files are very large. Unless you’re a serious photography enthusiast who plans to do detailed editing on a computer, you're better off sticking with the default format to save space on your phone. You can find this option under Settings > Camera > Formats.
Should I buy extra lenses or accessories for my iPhone?
While clip-on lenses and gadgets are available, they aren't essential for learning how to take good photos with your iPhone. The best first investment you can make is often a small, inexpensive tripod.
A tripod is a great help in a few situations:
- Night Mode: It keeps your iPhone perfectly still, which is key to getting sharp, bright shots in low light.
- Long Exposures: If you want to capture smooth waterfalls or light trails using the Live Photo effect, a tripod is essential.
- Group Photos: It lets you set a timer and get in the picture yourself.
Master the camera you already have in your pocket first. Once you feel you've pushed its capabilities to the limit, then you can explore other accessories.
Ready to put these tips into practice with a brilliant camera phone? At Used Mobiles 4 U, we offer a huge range of professionally refurbished iPhones, each fully tested and backed by a 12-month warranty. Find the perfect model for your photography goals and budget today.
Browse Our Refurbished iPhones
Written by James Waterston — 24 years in the mobile phone industry from customer service to Sales Director of a global repair & recycling company; now running Used Mobiles 4 U for 8+ years. LinkedIn
")


