


How to Set Up Call Forwarding on Any Phone

26/07/2026

12 Mins

Your main handset is going for repair, and now the calls need to land on your spare phone. Call forwarding is the clean fix, and on most phones you can set it up from the handset menu or with a network code such as *21 for immediate forwarding. The main thing is to enter the destination number exactly right, because a wrong format is the most common reason it fails.
Quick Answer
- iPhone: Go to Settings > Phone > Call Forwarding, switch it on, then enter the number.
- Android: Open the Phone app, go to Settings > Call forwarding, then pick the forwarding type.
- Network code: Use the carrier code when the handset menu is missing or the line is managed on the network.
- Best habit: Always test from another phone, because the screen alone doesn’t prove the network accepted the rule.
Setting Up Call Forwarding in Plain English
A customer rings in with their daily phone off for repair, but they still need calls hitting the work mobile by lunchtime. That’s the normal use case for how to set up call forwarding, and the two routes that usually work are the handset settings menu or a network code such as *21 for unconditional forwarding. On business platforms like Microsoft Teams, forwarding is also a managed feature, not just a handset toggle, which is why the setup has to be accurate at the number level and the timing level too. [Microsoft Teams call forwarding rules](https://support.microsoft.com/en-us/teams/calls-devices/call-forwarding-call-groups-and-simultaneous-ring-in-microsoft-teams)
The four common forwarding states are simple once you strip away the jargon. Always forward sends every call elsewhere, busy only kicks in when you’re already on a call, unanswered waits for the phone to ring out, and unreachable catches calls when the handset is off or out of signal. If you’re trying to stop every call landing on the original device, you want always forward. If you still want the phone to ring first, choose one of the conditional options.
The bit that matters most is the destination number. The phone can show the rule as enabled, but if the target is missing the right area code or entered in the wrong format, the call won’t go where you expect.
Get the forwarding number right first, then test it from another phone. That’s the quickest way to avoid a silent failure.
If you’re also dealing with call handling on a separate business number, it helps to understand the wider setup rules. A good nearby reference is [set up faxing online](https://blog.senditfax.com/2026/07/20/set-up-faxing/), because it shows the same basic principle, the destination matters more than the button you press.
For a quick practical map, the iPhone route is simple, Android has a few menu names that vary by model, and network codes remain the fallback when the menu isn’t there. If you’re unsure which route fits your phone, the next two sections break it down cleanly.
How to Set Up Call Forwarding on iPhone
On iPhone, the path is straightforward. Open Settings > Phone > Call Forwarding, switch it on, then type the forwarding number into Forward To. When it’s active, you should see a small phone-and-arrow icon in the status bar, which is the quickest visual check that the rule is live. [iPhone call forwarding status icon](https://www.asurion.com/connect/tech-tips/how-to-forward-calls-on-your-smartphone/)
If the toggle doesn’t appear, I’d treat that as a provisioning issue before assuming the phone is faulty. Carrier settings, restricted SIM profiles, or supervised devices can hide the option, and a restart or carrier update often brings it back. On a refurbished iPhone, I’ve seen this come down to the SIM profile more often than the handset itself. If you’re still setting the phone up from scratch, [setting up eSIM on refurbished iPhones](https://usedmobiles4u.co.uk/refurbished-iphone-esim-in-the-uk-which-models-support-it-how-to-set-it-up-on-ee-o2-vodafone-and-three/) is worth checking alongside forwarding, because a fresh line setup avoids a lot of confusion.
A common example we see is someone moving their personal iPhone to a work handset for the week. They switch the line, assume calls will follow automatically, then realise the old device or old rule is still active somewhere. Forwarding only behaves properly when the line, the number, and the destination are all aligned.
If the carrier exposes conditional forwarding through dial codes, you can still use that route from an iPhone. That’s useful when you want busy or unanswered calls to divert without changing the handset menu, especially on lines that are partly managed by a business account.
iPhone checklist
- Check the number: Make sure the destination is typed in full and in the right format.
- Check the icon: Look for the phone-and-arrow symbol in the status bar.
- Check the SIM: A fresh SIM profile can matter more than the phone model.
- Check with a test call: Ring from another UK number, not from the same device.
For anyone pairing a refurbished iPhone with a new line, [Simply Tech Today’s iPhone guide](https://www.simplytechtoday.com/how-to-set-up-new-iphone/) is a handy companion when you’re also getting the device ready for normal use.
How to Set Up Call Forwarding on Android and Samsung
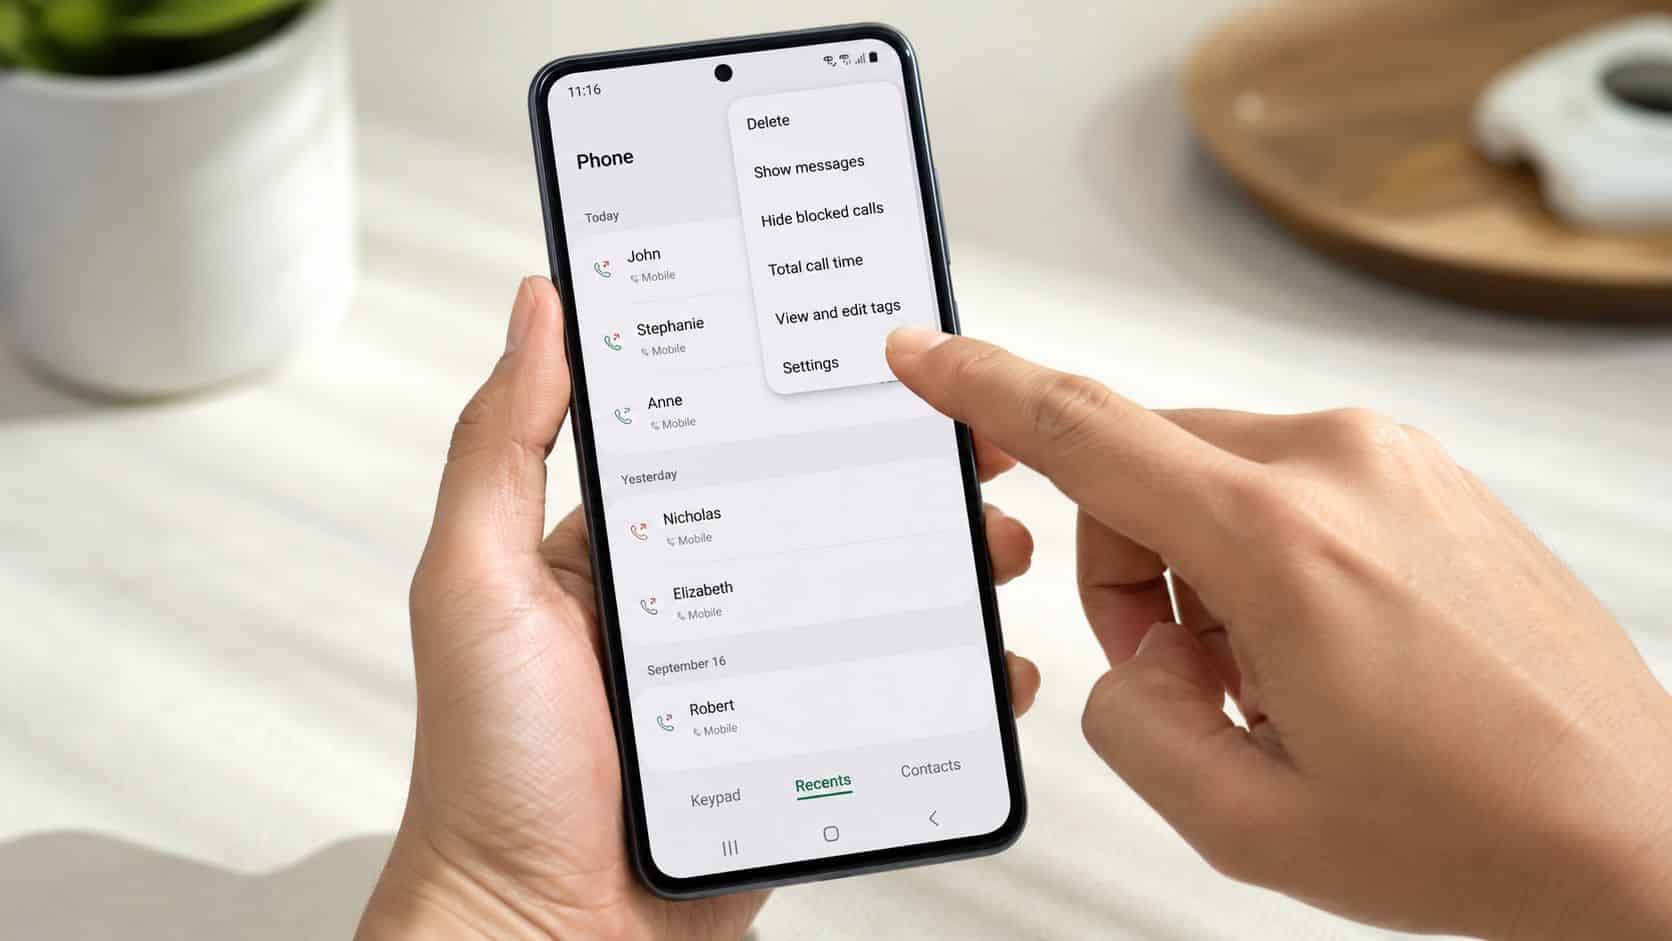
The most reliable Android route is the stock Phone app. Open Phone app → menu/three dots → Settings → Call settings, or on some builds Supplementary services, then choose Call forwarding. From there, pick Always forward, Forward when busy, Forward when unanswered, or Forward when unreachable, then enter the destination and save. [Android call forwarding menu path](https://www.youtube.com/watch?v=fnwM2CwCeOU)
Those four states matter in real life. Busy forwarding is useful when you’re on another call, unanswered is the usual choice for ring-out situations, and unreachable is the one many people forget about when the phone is switched off or has no signal. Always forward is the blunt option, and it’s the one to use when the handset is going away for repair or being shared between staff.
Samsung adds one detail that catches people out on dual-SIM handsets. Forwarding can be configured separately for SIM1 or SIM2, which is handy if you’re keeping one number for personal calls and the other for data or business callbacks. If you’re trying to understand how Samsung handles those lines, [understand Samsung eSIM](https://usedmobiles4u.co.uk/samsung-esim-uk/) before you change anything on a device you’ve just bought or reset.
The biggest Android problem is a missing menu. That usually means the carrier hasn’t provisioned supplementary services on that SIM, not that the phone is broken. In that case, the fallback is the network code route or the carrier’s app, not endless tapping through settings.
On Android, the menu can be there one day and missing the next after a SIM swap. That’s usually a network profile issue, not a handset fault.
Keep the number format clean. A UK mobile usually needs the full destination number the phone expects, and dropping the leading zero or entering the wrong international format can stop the rule working even though the menu says it saved.
If you’re also comparing devices or deciding whether a second line belongs on the handset or the SIM, the [find Vodafone refurbished at Used Mobiles 4](https://usedmobiles4u.co.uk/refurbished-phone-vodafone/) page gives useful context on how network setup and handset setup can cross over.
What Buyers Usually Ask Us
- “Why can’t I find the menu?” Usually because the SIM isn’t provisioned for that feature, or the device build hides it in a different menu.
- “Can I forward one SIM only?” On dual-SIM phones, yes, but the available controls depend on the model and carrier setup.
- “Will it work after a phone swap?” Only if the forwarding rule on the line has been set correctly and the old rule has been cleared.
A lot of buyers moving to refurbished handsets ask the same thing because they’re juggling two numbers. The practical answer is to set the forwarding rule on the line you care about first, then confirm the destination works before relying on it for business calls.
UK Network Codes and Landline Forwarding
For UK landlines and carrier-level setups, the network code is often the cleaner route. You dial the activation code, wait for the tone or prompt, enter the forwarding number, and confirm, and common examples include *72, although the exact code must be checked with the provider first. This is different from handset forwarding because the rule sits on the network switch, so it can keep working even if the phone is powered off. [UK landline forwarding codes](https://www.youtube.com/watch?v=B93CMbDMbrE)
That network-level approach matters on older refurbished handsets, business lines, and some VoIP setups where the phone menu is sparse or missing. It also explains why the same code won’t always work across every supplier. If the provider hasn’t enabled the feature, or if the destination number is entered in the wrong format, the setup can fail before the call ever reaches voicemail.
These are the common patterns people expect to see:
For anyone comparing an older landline-style setup against a mobile, the same logic applies. Dial the code, wait for the confirmation tone, then test the original line from another phone. That test call is what proves the redirect path works, not the on-screen confirmation alone.
If you also need a fresh handset that doesn’t carry old line settings around, it helps to start from a clean device. That’s why some buyers choose to [buy refurbished iPhones](https://usedmobiles4u.co.uk/product-category/apple/refurbished-iphones) and then configure the network from scratch.
One practical note from the bench. If a forwarded call lands in the wrong place, the fault is usually the provider code or the destination format, not the phone itself. A line can look perfectly normal and still be pointed at the wrong number on the network.
When you’re sorting out a handset and a wearable at the same time, the setup details can get tangled. The forwarding logic is simple, but the provider-specific code is what makes or breaks it, which is why checking first with the service provider saves time later. If you’re also choosing accessories, [find your perfect Galaxy Watch Ultra band](https://nothingbutbands.com/collections/samsung-galaxy-watch-ultra-bands) is useful for a separate device setup, though it doesn’t affect call routing.
Common UK Call Forwarding Codes
- *21, forwards all calls immediately.
- *61, forwards when the call is unanswered.
- *62, forwards when the line is unreachable.
- *67, forwards when the line is busy.
Costs, Limits and Footguns Most Guides Miss
The part most guides skip is cost behaviour. Forwarded calls can still be charged as if they were dialled from the original handset, so sending a UK mobile to an international number can create charges you didn’t expect. That’s why forwarding to a local UK number is usually the safest first test, especially if the line is on a consumer plan.
Voicemail can also get in the way. On busy or unanswered calls, the carrier’s voicemail box may already behave like a forwarding rule, which means your custom forwarding rule can clash with it or sit behind it in the network. That’s one reason a call sometimes seems to go to voicemail even after forwarding is switched on.
Timeouts matter too. Microsoft Teams documents a default unanswered timeout of 20 seconds, rounded in 10-second steps up to 60 seconds, and that gives a useful benchmark for why some call-forward-on-unanswered setups feel too quick or too slow. [Microsoft Teams forwarding timeout rules](https://support.microsoft.com/en-us/teams/calls-devices/call-forwarding-call-groups-and-simultaneous-ring-in-microsoft-teams)
Number format is the other classic footgun. Landlines usually need the area code, mobiles often use the full UK number as expected by the device, and international numbers must be entered in full international format starting with +. The number can be right and the format can still be wrong, which is why I always check that before looking for a bigger fault.
Most forwarding failures come from a number that was correct in principle, but wrong in format.
If you’re trying to decide whether a fresh device is worth it, a clean setup usually saves more time than trying to patch around old network rules. The cleanest path is a handset that’s reset properly, paired with a line you control, and backed by a usable warranty and returns process.
For buyers comparing routes, the [refurbished iPhones range](https://usedmobiles4u.co.uk/product-category/apple/refurbished-iphones) is the sort of place people start when they want a replacement phone that doesn’t bring old forwarding problems with it. The same goes for any device that’s going to be shared between personal and business use.
Refurbished Phones, SIM Swaps and the Used Mobiles 4U Bench View
A common example we see is a customer who’s just moved their SIM into a refurbished handset and the calls are still landing on the old device. That usually means the forwarding rule lives on the line, not inside the phone, so changing the handset doesn’t automatically clear it. The fix is to check the network rule first, then make sure the old device isn’t still powered on and answering calls.
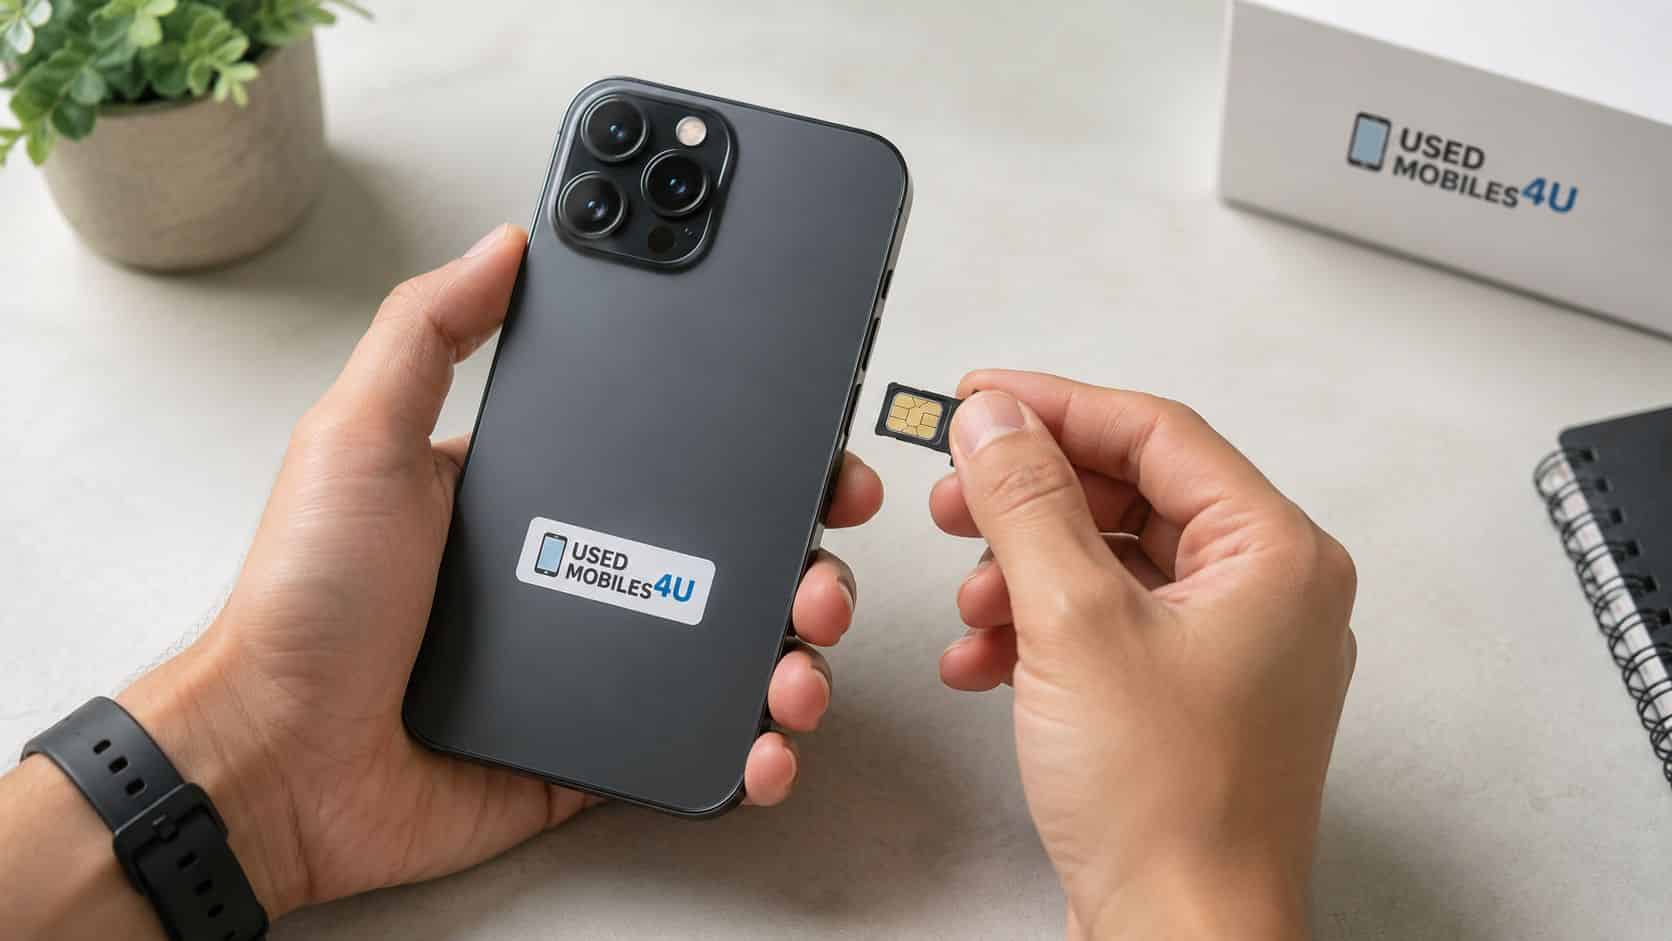
One thing we regularly notice on the bench is that people blame the new phone too quickly. Our technicians often see worn SIM trays, stale forwarding rules from a previous owner, or SIM-free handsets that behave differently because the carrier hasn’t fully provisioned the line yet. In those cases, the forwarding issue is usually a setup problem, not a hardware failure.
That’s why a SIM-free refurbished handset with a fresh carrier activation is the cleanest starting point. It reduces the chance that some old rule is still hanging around on the line and makes it easier to tell whether the problem sits with the phone, the SIM, or the network.
If you’re comparing models, the better choice is usually the one that gives you a clean start, stable battery health, and a proper warranty rather than the one that just looks newer on paper. When forwarding is part of the daily workflow, especially for parents, sole traders, and small teams, those practical details matter more than shiny extras.
What We Commonly See
- Previous forwarding still active: The number was set on the line before the swap and never cancelled.
- SIM tray wear: An unreliable SIM connection makes setup feel random when it isn’t.
- Mixed personal and work use: Dual-SIM owners often forget which line is actually forwarding.
If you’re at the stage of choosing a replacement, the safest move is to [buy refurbished iPhones](https://usedmobiles4u.co.uk/product-category/apple/refurbished-iphones) from a clean baseline and set the forwarding rule again from scratch. That’s the easiest way to avoid carrying an old network configuration into a new device.
Troubleshooting and Quick Checks
If forwarding isn’t working, start with the simplest checks. Look for the iPhone status-bar icon or the Android toggle, make a test call from a different phone, and then try the carrier’s own app if the menu is missing. If the rule seems stuck, cancel it with the provider’s stop code and test again on a plain UK mobile number before trying a landline or international destination.
Always test from a different phone. The screen can say the rule is on, but only a live call proves the network accepted it.
If the handset menu and the network code disagree, trust the network code as the final tiebreaker. That’s the route most likely to show whether the rule is really stored on the line. If it still won’t move, the destination format is usually the next thing to check.
For anyone buying a replacement handset for forwarding-heavy use, a SIM-free refurbished phone with a warranty and returns support is the calmer choice. It gives you a clean line setup, and it’s easier to prove whether a problem belongs to the device or the network.
If you need a replacement phone that's easy to set up, tested, and ready for UK network use, visit Used Mobiles 4 U for SIM-free refurbished phones, clear grading, and proper warranty cover. It's a sensible place to start if you're sorting call forwarding on an iPhone or Android and want a handset that won't drag old network settings along with it.
Looking for a refurbished phone?
Shop professionally tested refurbished iPhones and Samsung phones with 18 month warranty, 30 day returns and free UK delivery.
Browse Refurbished Phones