


How to Transfer Data to New iPhone in 2026

08/08/2026

10 Mins
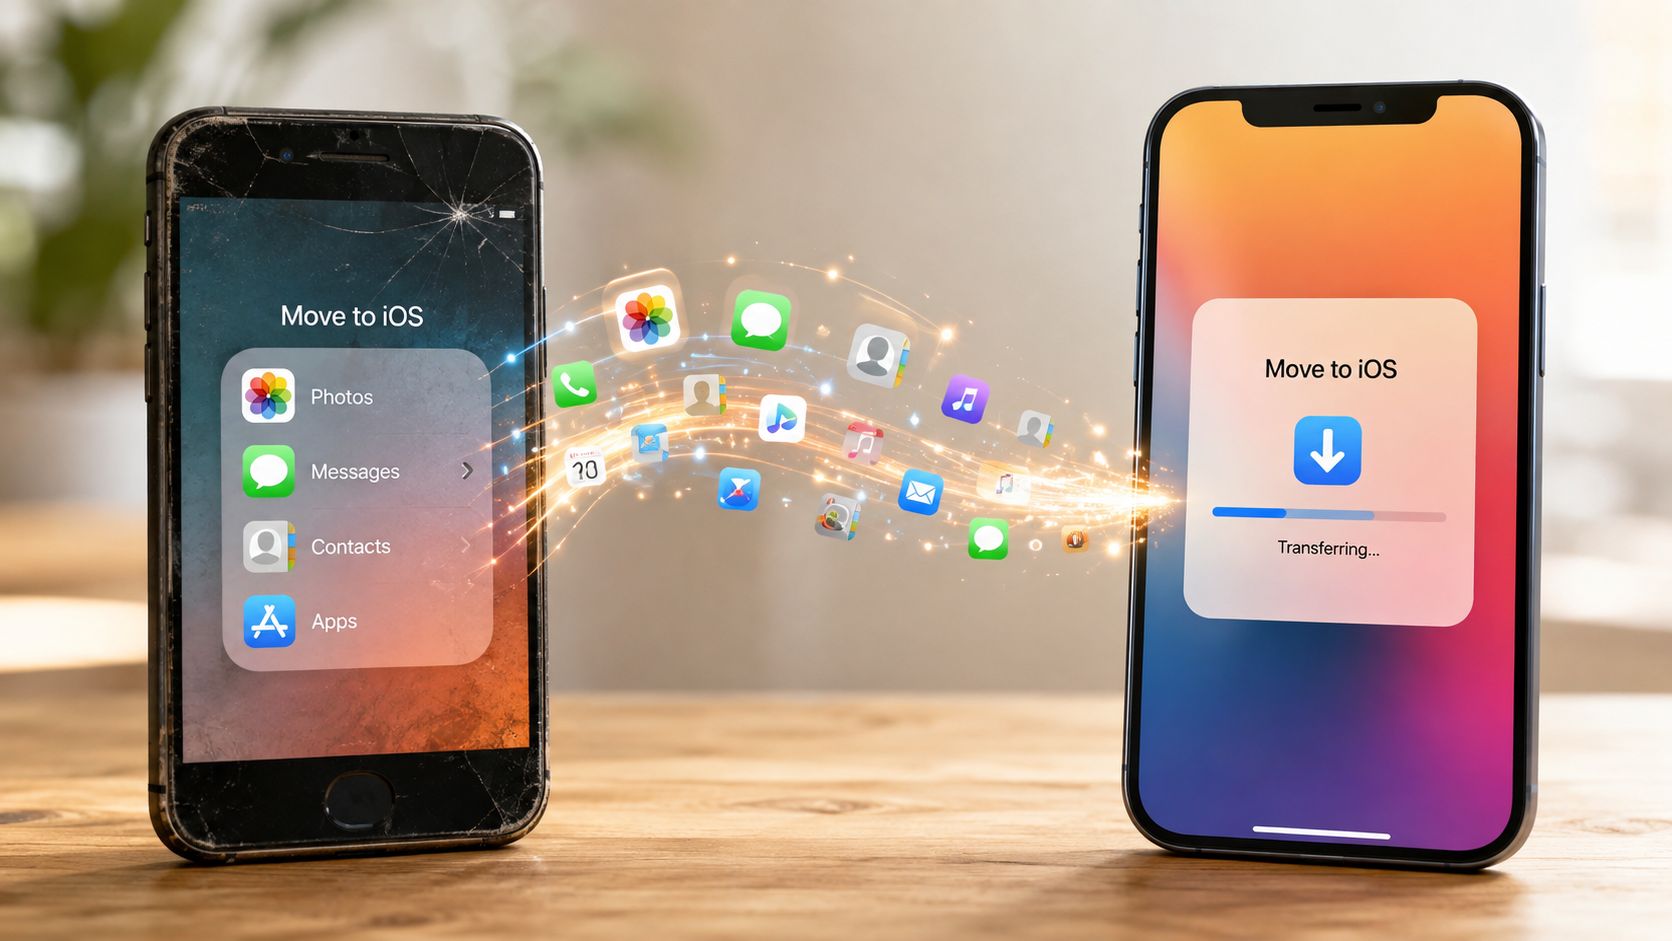
If you've just unpacked a refurbished iPhone, the cleanest way to transfer data to new iPhone is usually Apple's Quick Start during setup. If your old phone is gone, wiped, or stuck in a drawer, an iCloud or computer restore is the next best route.
Quick Answer
- Best option for most people: use Quick Start while both phones are nearby and charged.
- Best option if the old phone is missing: restore from iCloud or a computer backup.
- Best option coming from Android: use Move to iOS during the iPhone setup screens.
Before you touch the new phone, have your Apple Account password, old device, SIM or eSIM details, Wi-Fi, and a recent backup ready. Apple’s setup flow is built around a single migration pass, and if you miss it, the clean fix is usually to erase the new iPhone and start again, not try to patch it mid-setup. If you’re buying a refurbished iPhone, the good news is the handset should already have been professionally wiped, so you’re starting from a clean slate rather than someone else’s old settings.
One practical thing I always tell customers is to treat setup like a proper handover, not a quick sign-in. If your old phone is still working, keep it to hand until contacts, photos, messages, apps, and two-factor logins are all behaving on the new one. If you’re checking whether your handset is ready for the latest software before you migrate, use this check phone update compatibility guide first.
Quick Answer and What to Do First
Quick Start is the fastest and cleanest way to move data to a new iPhone when both devices are nearby and switched on. Apple says the devices should be connected to Wi-Fi and Bluetooth during setup, and if you miss the setup window, the usual fix is to erase the new iPhone and restart the process. That’s why I treat transfer as part of first-time activation, not something you bolt on later.
Start by lining up the basics. You’ll save yourself a lot of faffing if you gather everything before the first screen times out.
Have these ready before you begin
- Apple Account password: you’ll need it when the new phone asks for sign-in.
- Old phone: keep it powered on and unlocked if possible.
- SIM or eSIM details: if the new handset needs a different SIM arrangement, sort that before you wipe the old one.
- Wi-Fi connection: a stable connection matters, especially if you’re restoring from iCloud later.
- Battery charge: keep both phones charged, or leave them on power during transfer.
- Recent backup: if one exists, it’s your safety net.
Apple’s official guidance also says Quick Start can work with an older iPhone, an iPad, or an iCloud backup as the source, which is useful if the old handset is missing or already wiped. That flexibility matters for refurbished iPhone buyers because not everyone walks in with their previous device still alive and ready. The transfer method you choose should match your situation, not the other way round.
Practical rule: if the old device still turns on, try to migrate from it first. It usually causes less drama than rebuilding from scratch later.
Using Quick Start for a Direct iPhone to iPhone Transfer
Quick Start is the method I’d pick first in most cases. Apple’s setup is designed so the new iPhone sits next to the old one, both stay on Wi-Fi and Bluetooth, and the handover happens during activation rather than after the fact. That’s the cleanest route for moving apps, settings, photos, messages, and the rest in one go. For a handset that’s been professionally wiped and is sitting there ready to go, it’s the most sensible way to make it feel like your phone.
Bring the old iPhone close to the new one, then wait for the setup prompt. On the old phone, accept the Apple ID prompt, scan the animated pattern that appears on the new screen, and follow the steps to set up Face ID or Touch ID. Once the transfer starts, leave both phones side by side and don’t wander off with either device.
Here’s the bit people underestimate. A typical over-the-air activation and transfer can take about 30 to 45 minutes on a connection described as 10 Mbps down, and the user who reported that also felt that 1 hour may not be excessive depending on how much is on the old phone, via an Apple Community discussion indexed on Apple Stack Exchange. In plain workshop terms, a big photo library or patchy Wi-Fi pushes the job past the pleasant stage quite quickly.
The transfer normally brings over the stuff people care about most, apps, settings, photos, messages, and saved Wi-Fi details. It won’t always carry every downloaded file or in-app login exactly as you remember it, so expect to sign into a few services again. If the transfer takes a while, both devices will work hard, which is why checking battery health before a long setup isn’t a bad habit.
For a small personal touch after setup, some buyers like to refresh the new handset with fresh accessories as well. If you’re sorting out a watch at the same time, affordable Apple Watch bands from Nothing But are a handy place to look.
Restoring from iCloud or a Computer Backup
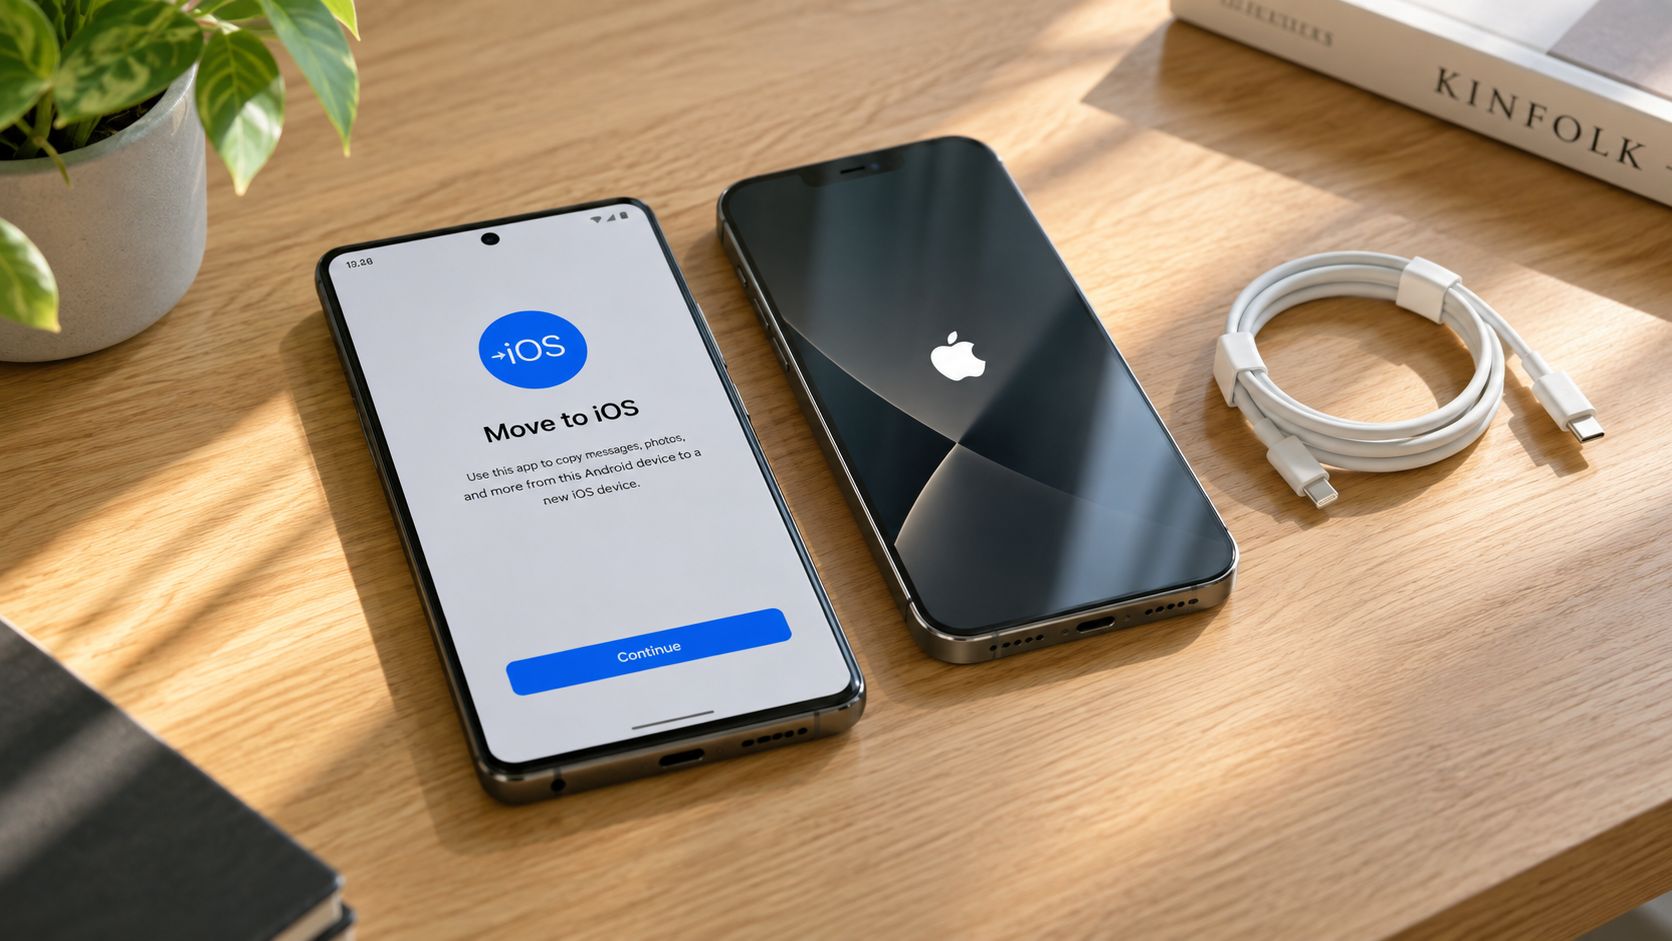
When Quick Start isn’t possible, iCloud is the next neatest route. Apple says you choose or create a backup, sign in with your Apple Account, and keep the new iPhone connected to Wi-Fi and power until the restore finishes. That last part matters more than people think, because the restore uses the chosen snapshot, not live data from the old phone.
If your backup is too big for the free quota, Apple notes that some new-device owners may be eligible for temporary iCloud storage during migration. In real life, that helps when a buyer has done everything right but the backup just won’t fit neatly into the normal allowance. The most sensible habit is to check the backup’s date and size before you start, so you know you’re restoring the right version.
Choosing Between iCloud and a Computer Backup
The computer route suits customers who don’t want to depend on broadband. On a Mac, Finder handles the backup and restore flow. On Windows, iTunes is still part of the path on many systems, and the important part is choosing an encrypted backup when prompted. That’s the option that carries across sensitive data properly, which is why technicians always nudge people towards it.
If you want a straightforward walk-through of the iPhone side of the process, this how to use Quick Start on iPhone guide is a useful companion. For older or weak home connections, the computer method often feels calmer than waiting on cloud downloads.
Practical rule: use iCloud if you’ve already got a good backup and solid Wi-Fi. Use a computer backup if the connection is shaky or you want the most controlled restore.
Moving from Android to a New iPhone
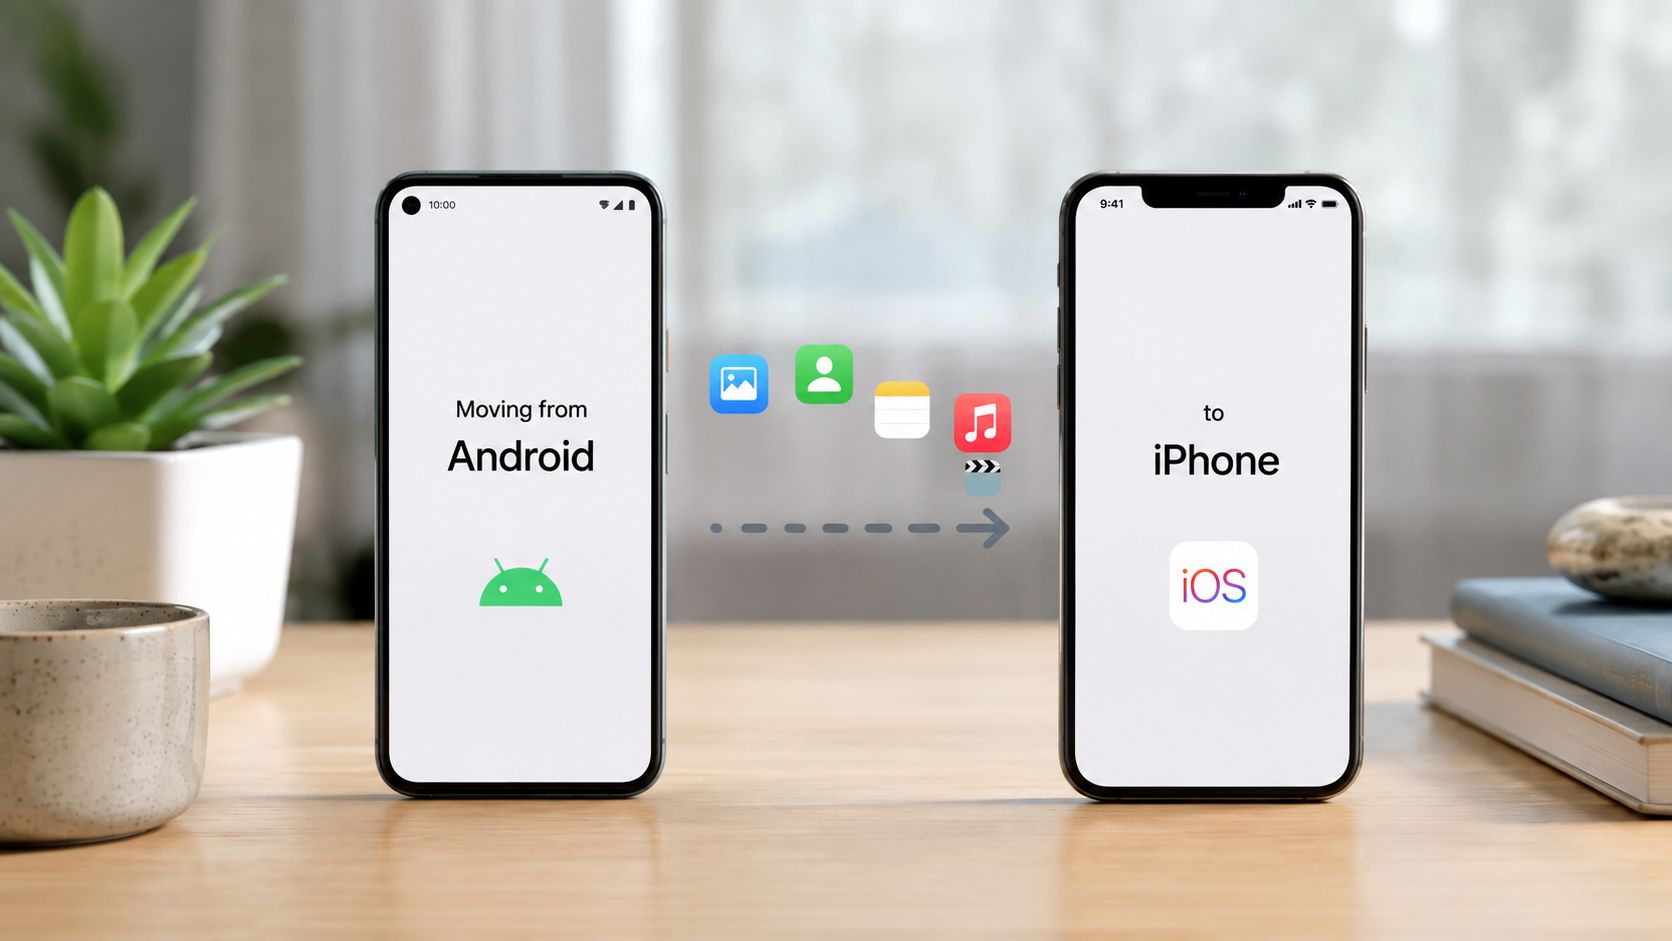
If you’re moving from a Samsung, Pixel, or another Android phone, the answer is Apple’s Move to iOS app. The important bit is timing. It has to be started during iPhone setup, not after you’ve already signed in and started customising the handset. Once the new iPhone has moved past setup, the clean migration gets much harder.
On the Android phone, install and open Move to iOS, then follow the code prompt shown on the iPhone setup screen. Connect both devices as instructed, choose what you want to copy across, and let the transfer finish without using either phone for other tasks. For many first-time iPhone buyers, that means contacts, calendars, photos, mail accounts, and compatible free apps can come across neatly enough to make the switch painless.
What usually moves well and what doesn’t
- Usually transfers well: contacts, calendars, photos, mail accounts, and many free apps that exist on both platforms.
- Needs extra attention: WhatsApp chat history, because the order of setup matters.
- Usually doesn’t move cleanly: DRM-protected music and some older platform-specific message histories.
WhatsApp is the bit that catches people out most often. If you want the chats to appear on the new iPhone, you need to use WhatsApp’s own transfer path rather than assuming the phone migration will sort it automatically. Get the app installed in the wrong order and you can end up with an empty chat list, which is annoying when the rest of the move looked fine.
A common example we see is someone who’s already set up the new iPhone, then realises their WhatsApp history hasn’t come across. The fix is usually to stop, re-check the setup path, and use the transfer route properly rather than hoping a second sign-in will patch it later. If you’re coming from Android and want the fuller process in one place, this guide from Used Mobiles 4 U is the better starting point.
Don’t forget SIM and eSIM details. If the new phone needs a different SIM size, the carrier has to provide it, and if the line is moving to eSIM, sort activation before you retire the old handset. That part isn’t glamorous, but it’s where many otherwise tidy migrations go sideways.
What We Commonly See on the Workshop Bench
One thing we regularly notice is that many customers arrive with no usable backup at all. Their old handset was already sold, traded in, or wiped too early, and now they’re trying to rebuild a phone from memory. That’s usually where stress starts, because people suddenly realise how much of their digital life sat on the old device.
What buyers and sellers forget most often
- Apple Watch and AirPods: they often need re-pairing after the transfer.
- Face ID and Apple Pay: cards and biometric setup usually need re-adding.
- Old backups: people assume one exists, then discover it was never completed.
Our technicians often see customers trying to restore from iCloud on unstable broadband. That’s where the job drags, not because the iPhone is faulty, but because the download is doing the heavy lifting. If the phone is a refurbished one from a proper retailer, the reassurance is simple, the handset should be professionally data-wiped and clean, so you’re not inheriting someone else’s Apple ID lock or old content.
The smoothest transfers usually belong to customers who keep the old phone until the new one is fully working.
A realistic scenario is someone who traded in an older iPhone before checking the backup, then borrowed a laptop from a friend and used Finder to restore a recent snapshot. That sort of rescue still happens, but it’s always easier when the old handset hasn’t already gone. The lesson from the bench is plain, don’t wipe or sell the source device until you’ve checked photos, messages, and logins on the replacement.
Common Transfer Problems and How to Fix Them
Most transfer faults look worse than they are. The phone freezing on the Apple logo, a Quick Start animation that never appears, or an iCloud restore that stops halfway usually points to setup order, connection issues, or a backup problem rather than a dead device. The trick is to identify the symptom and fix one thing at a time.
The usual faults we see
- Pairing animation never appears: usually Wi-Fi or Bluetooth isn’t ready on one of the phones. Turn both on again, keep the devices close, and wait for the prompt.
- Restore won’t complete: often caused by a weak connection or a backup that isn’t current enough. Re-check the backup date and size, then try again on stable Wi-Fi and power.
- WhatsApp chats missing: the app was installed in the wrong order. Revisit the WhatsApp transfer path instead of just signing in again.
- Apple ID gets stuck: the password or account detail was entered too early or too late. Start the setup again if needed, rather than pushing through a half-finished restore.
If the new iPhone is hanging after a failed transfer, the honest answer is often to start over. That’s better than carrying a broken Mail setup or half-synced Settings app into daily use. Apple’s own setup flow is built to be repeated cleanly if needed, and that’s usually safer than trying to patch a damaged first pass.
For people who already have an iPhone and just want to move chats across, this transfer WhatsApp data between iPhones page can help keep the mess to a minimum. The main thing is not to rush the order of steps, because most “lost” data is really just misfiled during setup.
Post-Transfer Checks and the Final Verdict
Once the transfer finishes, do a quick sweep before you call it done. Check contacts, recent messages, the photo library, WhatsApp chats, and whether two-factor authentication codes are arriving on the new device. Re-add Apple Pay cards, confirm Find My iPhone is active, and only then think about signing out or wiping the old handset.
If you still have the previous phone, remove it from the Apple Account page and erase it properly before resale or recycling. For customers keeping an eye on data use while restoring apps or backups, this SwiftNet Wifi data usage guide is a practical reference point.
Verdict: use Quick Start if you’ve got both phones in front of you. Use iCloud restore if the old device is missing. Use a computer backup if you want the most controlled local restore, especially with a bigger library. Move to iOS is the right path from Android, and there isn’t a better shortcut.
If you’re buying a refurbished iPhone, it’s worth checking the battery health, warranty, and data-wipe reassurance before you commit. A cleanly reset phone with a proper warranty is much easier to move onto, and it’s exactly the sort of thing that saves hassle on setup day.
Written by James Waterston, 24 years in the mobile phone industry from customer service through to Sales Director of a global repair and recycling company. Now running Used Mobiles 4U for over 8 years. LinkedIn
If you’re ready to move to a refurbished iPhone without the usual setup headaches, Used Mobiles 4 U can help with tested, professionally wiped devices and clear condition grading. Visit Used Mobiles 4 U to compare refurbished iPhones, check warranty details, and pick a replacement phone that’s easy to set up properly the first time.
Looking for a refurbished phone?
Shop professionally tested refurbished iPhones and Samsung phones with 18 month warranty, 30 day returns and free UK delivery.
Browse Refurbished Phones